REVIEW · TULUM
Private Kitesurfing Lessons in Tulum with a Private Beach Access 3hrs
Book on Viator →Operated by Siankite · Bookable on Viator
Learning kitesurfing gets real fast.
This private lesson in Tulum is built around a simple idea: you don’t wait for a big group schedule. You learn at the pace your body, the wind, and the water allow, with a dedicated instructor from setup to safety. I also like that the coaching is structured into three clear stages, so absolute beginners aren’t just shown equipment and sent off into the sea.
What really makes this experience work is the step-by-step progression—from wind awareness and safety systems to power drag and controlled starts, and then mostly riding by the third session. I like the private instructor focus most of all, because you get corrections in real time, instead of vague advice between other riders. One possible drawback: kitesurfing is weather- and wind-dependent, so if conditions aren’t right that day, your session may shift or be offered on a different date.
In This Review
- Key things to know before you go
- A 3-hour plan to get you riding at Papaya Playa
- Finding Posada Lamar and the SIANKITE setup right on the sand
- Session 1: wind windows, safety systems, water launches
- Session 2: power drag, controlled water starts, upwind vs downwind
- Session 3: mostly riding—upwind mechanics, transitions, maybe jumping
- Gear and coaching style: what you get besides lessons
- Weather reality in Tulum: the day can change fast
- Who this private lesson is perfect for
- Price and value: why “private” can be worth it here
- Tips to help you have a smoother lesson
- Should you book this private kitesurfing lesson in Tulum?
- FAQ
- How long is the private kitesurfing lesson in Tulum?
- Is this lesson private or shared with other people?
- Is the instruction offered in English?
- Where do we meet?
- Does the lesson include equipment?
- What happens if the weather is bad or you need to cancel?
Key things to know before you go
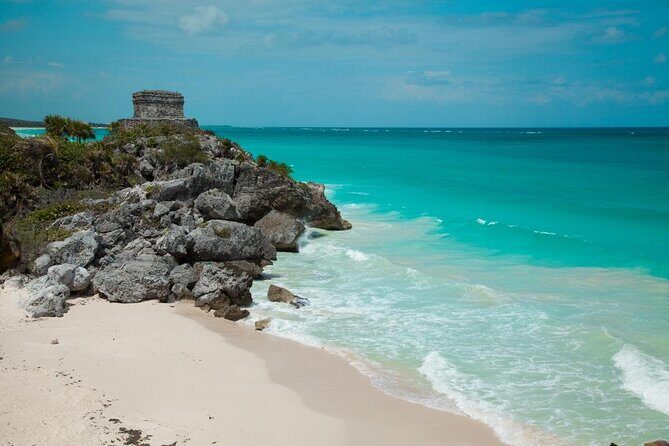
- Private beach access with a 3-hour block so you’re not wasting time traveling between lessons and gear
- Three-session skill ladder: wind basics → starts and upwind tactics → real riding and transitions
- Safety first, every session with water launches and self-rescues taught early
- Gear included from international brands, so you can travel light
- On-the-beach setup near Ahau inside the Posada Lamar / Playa Selva area, easy to find with the right directions
- Community energy: instructors and kite friends are described as helpful and watchful, which matters when you’re learning
A 3-hour plan to get you riding at Papaya Playa
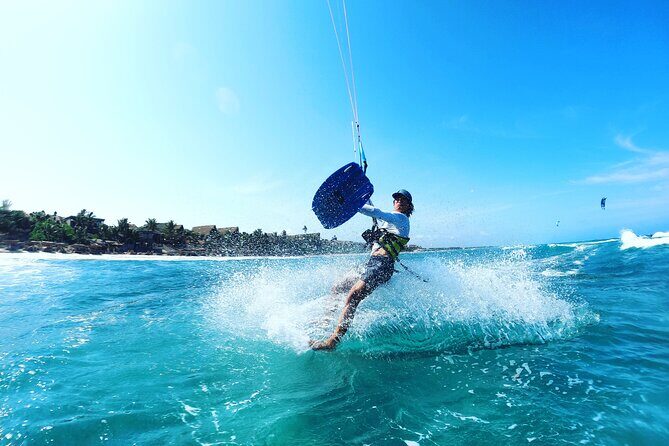
This is a compact lesson. That’s good. You get a full 3 hours (approx.) of focused time instead of chopping your learning into tiny chunks. The target is clear: by day’s end, many beginners are up and riding, with a chance at controlled jumping depending on wind and comfort.
Papaya Playa in Tulum is the kind of spot where progression can happen quickly. The lesson starts with the basics you need to stay in control: wind behavior, kite positioning, and how power changes as the kite moves through different zones. Then you move into the water work—launches, starts, and the mechanics that help you go upwind without panicking.
If you’re an intermediate, this format still helps because it forces “clean fundamentals.” Even if you already know how to ride, the emphasis on safety procedures and upwind mechanics can tighten your technique fast. The upside of private coaching is that you can work on what matters most for you, not what happens to matter for the group.
You can also read our reviews of more private tours in Tulum


Finding Posada Lamar and the SIANKITE setup right on the sand
Your meeting point is inside Posada Lamar, in the beach area connected with Playa Selva. If you’re arriving and want an easy, low-stress entry, one practical tip from a rider: tell the guards you are going to SIANKITE. You’re essentially right at the action—short steps from well-known beach landmarks like Ahau—so you’re not spending your first hour hunting for the exact beach access.
The activity ends back at the meeting point, so you don’t need to plan a second pickup. Also, it’s listed as near public transportation, which is helpful in a town where routes can be a bit spread out.
Plan for the area to feel active and social. One rider described a welcoming community vibe—kite friends looking out for each other—so arriving with a calm mindset is part of the win. You’re learning a sport where good habits matter, and that starts the moment you walk in.
Session 1: wind windows, safety systems, water launches
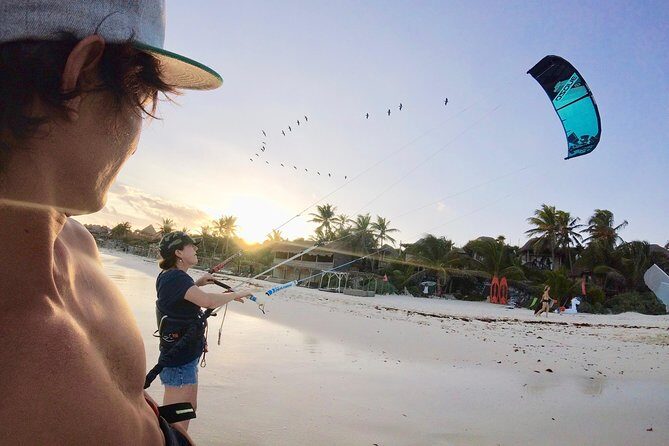
The first session is the foundation, and it’s taught in a way that makes sense for beginners. You start with wind awareness and kite control before the water ever gets complicated.
Here’s what the instructor covers in this intro block:
- Wind windows and flight plan: you learn where the kite needs to travel in the sky for power and control
- Neutral and power zones: this is big. It helps you stop treating the kite like magic and start treating it like physics
- Kite control basics so you understand how direction and power shift as the kite moves
- Safety systems: you learn the safety setup early, not as an afterthought
- Water launches and self-rescues: you practice how to get going and how to handle the moment things don’t go perfectly
The value here is confidence. You’re not just learning moves; you’re learning cause-and-effect. When you understand how wind zones work, you spend less time guessing. That reduces crashes and speeds up learning.
A real-world note: conditions and water texture can vary along the Tulum beach. One lesson-goer noted the beach can look messy and that they struggled with a surf-table setup on that day. Translation: show up ready to adapt. If something doesn’t feel perfect, ask for adjustments and keep your focus on what the instructor is teaching—control beats ego.
Session 2: power drag, controlled water starts, upwind vs downwind
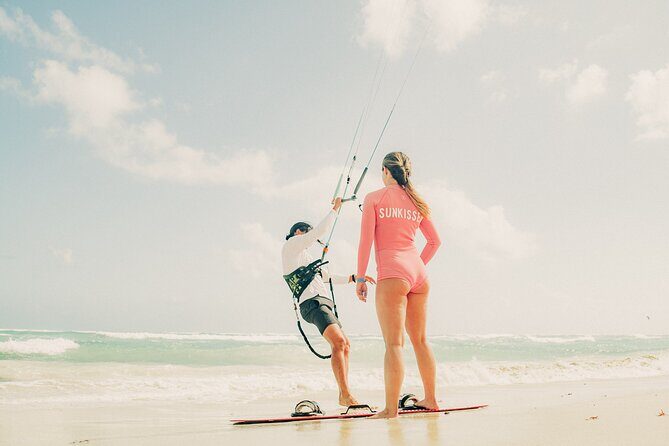
By session two, the lesson shifts from control in the air to control in the water. This is where you start understanding tactics—especially the difference between going upwind and downwind.
In this middle block, you work on:
- Power drag: learning how the kite’s pull can move you while you stay in a safe, teachable position
- Controlled water starts: you practice starting without “random bravery”
- Transitions: moving between positions and kite states smoothly
- Upwind vs downwind mechanics: you learn what the kite and board are doing relative to the wind direction
- Drills in water launches and starts: repetition that builds muscle memory
This is the session where most beginners start to feel momentum. You stop thinking only about survival and start thinking about navigation: where you are, where the wind is taking you, and how to correct course.
Also, focus matters here. If you’re trying to rush the “fun part,” this is when you’ll regret it. Slow down on purpose. Your instructor’s job is to keep your kite angle and your body position aligned, and you’ll improve faster if you trust the process.
Session 3: mostly riding—upwind mechanics, transitions, maybe jumping
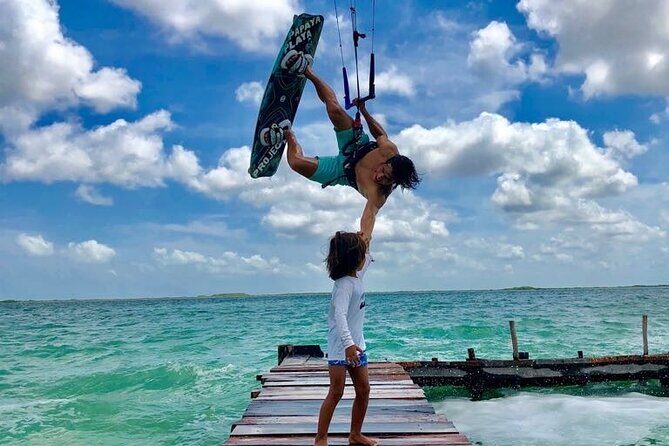
Session three is where you want the most attention. The goal becomes riding time, not just drills. The plan is to master:
- Upwind mechanics so you can angle against the wind with less effort
- Transitions so you can change direction or stance without losing control
- Safety procedures to keep you composed if the session gets chaotic
- Potential jumping depending on wind, conditions, and your comfort level
This is also the session where private coaching pays off. Instead of a generic “everyone go together” approach, your instructor can keep nudging you toward the next skill you’re ready for. If you’re not ready to jump, you still get progress—clean upwind riding and better transitions are not “second best.” They’re how you ride longer and with less stress.
One rider also highlighted how the instructors and kite friends create a supportive vibe. That matters right here. Learning on water can feel intimidating even when you’re doing well, and it helps to have people around who understand the sport and keep things calm.
You can also read our reviews of more tours and experiences in Tulum




Gear and coaching style: what you get besides lessons
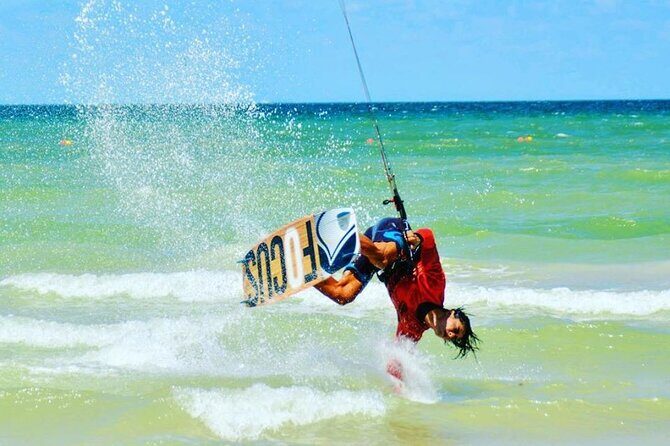
One of the most practical parts of this setup: it includes the necessary gear. The listing notes international brand names, which usually means you’re on reliable equipment instead of mystery gear.
That matters more than it sounds. When your kite, harness, or bar feel wrong, learning slows down immediately. With gear handled for you, you can focus on the kite control, body position, and safety steps your instructor is teaching.
You also get plenty of time where the instructor is fully focused on your progression. The lesson is described as your ride’s priority, with full attention so you can adjust quickly. If you’re the type who learns best when someone watches your exact inputs—hand position, kite path, body movement—private lessons like this are a strong choice.
And about language: it’s offered in English, so you’re not trying to translate safety concepts with a shaky vocabulary.
Weather reality in Tulum: the day can change fast
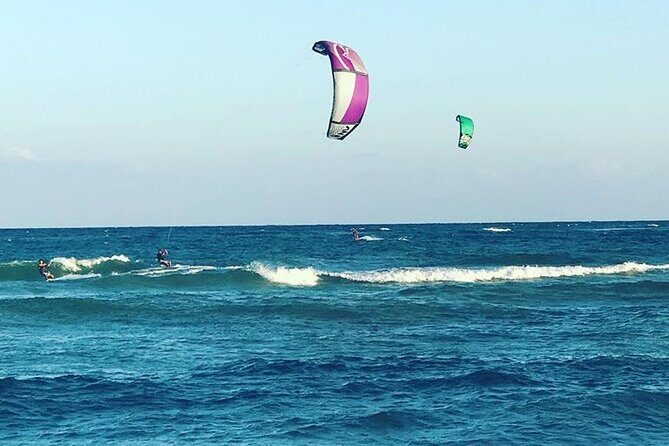
Kitesurfing is simple in theory and picky in practice. This experience requires good weather, and the provider notes that if it’s canceled due to poor weather, you’ll be offered a different date or a full refund.
So what should you do as the smart traveler?
- Bring a flexible mindset. If the wind isn’t cooperating, the schedule won’t be rigid.
- Arrive ready to adjust to water and beach conditions. One lesson-goer mentioned the beach looked messy on their day, and they struggled with the surf-table part; that kind of variability can affect how fast you feel comfortable.
- Listen when your instructor makes calls about what’s safe and what’s not. Learning goes faster when you don’t fight the conditions.
If you’re traveling around Tulum, keep at least a little buffer in your schedule so you can reschedule if needed.
Who this private lesson is perfect for
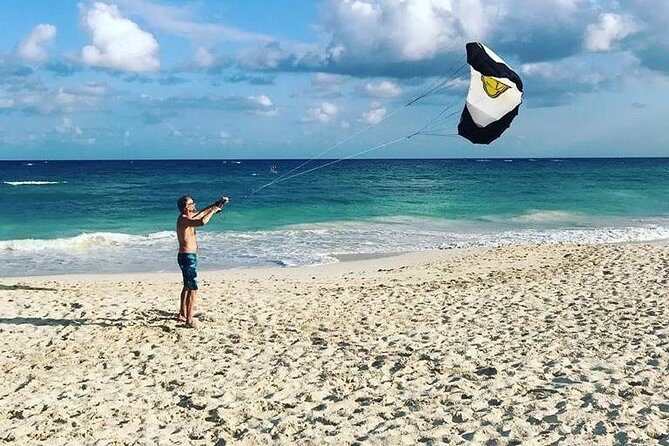
This is described as suitable for most travelers, but it’s especially good for:
- Absolute beginners who want a real chance at riding within a single day
- People who learn better with direct feedback and hands-on corrections
- Anyone who wants safety systems taught early, not after they’ve already tangled a few times
- Kitesurfers who already ride but want to tighten fundamentals: upwind mechanics, transitions, and safer starts
It’s also a nice choice if you’re with a small group that would otherwise get stuck waiting their turn. Since it’s private, your instructor can tailor the pace and drills.
Price and value: why “private” can be worth it here
No price is listed in the info I was given, so I can’t tell you what this will cost. But I can tell you how to judge value.
Ask yourself if these boxes are important to you:
- A full 3 hours of dedicated instruction
- All necessary gear already included
- A lesson plan that’s organized into three skill stages, so you’re not guessing what comes next
- A private instructor who stays focused on your progression
- Beach access that reduces downtime
For kitesurfing, time on the water is the real currency. This experience is built to maximize that time while keeping safety and fundamentals in front of you. If you want the fastest path to competent control, that’s the value story.
Tips to help you have a smoother lesson
You’ll have a better day if you treat it like a sport session, not like a casual beach activity.
- Wear the right swim setup for water time (your instructor may guide specifics)
- Be ready for repetition during drills—session two especially benefits from staying focused
- Ask questions early, especially about safety systems and self-rescue steps
- If you’re feeling nervous, say so. A good private instructor can adjust the pace and still help you progress
And one more mindset tip: you don’t need to impress anyone on day one. Your job is to learn control. The riding part will come when your kite control and body timing line up.
Should you book this private kitesurfing lesson in Tulum?
I’d book it if you want a structured, safety-first way to learn kitesurfing in a single day. The private format is the key: you get focused coaching, a clear three-stage progression, and gear handled for you. If you’re an absolute beginner, the lesson is explicitly designed so you can be riding by the end, with a real shot at jumping depending on wind and your comfort.
I’d skip or reschedule if your schedule is too tight and you can’t handle weather-related changes. Since the experience depends on good conditions, a bad wind day could mean a move to another time.
If you’re the type who likes a supportive community vibe and wants real progress without guesswork, SIANKITE at Papaya Playa is a strong match.
FAQ
How long is the private kitesurfing lesson in Tulum?
The lesson is about 3 hours per session, and the activity is listed as approximately 3 hours total.
Is this lesson private or shared with other people?
It’s a private tour/activity. Only your group participates.
Is the instruction offered in English?
Yes. The experience is offered in English.
Where do we meet?
You start in the Posada Lamar area in Tulum. The start location is listed with plus codes (5HH3+RP Tulum / 5HH3+RPX Tulum), and you should head to the SIANKITE setup inside Posada Lamar.
Does the lesson include equipment?
Yes. The experience includes all necessary gear, and it’s described as using international brand names.
What happens if the weather is bad or you need to cancel?
This experience requires good weather. If it’s canceled due to poor weather, you’ll be offered a different date or a full refund. Cancellation is free up to 24 hours in advance for a full refund.
More Workshops & Classes in Tulum
More Private Tours in Tulum

More Tour Reviews in Tulum
- Selva Maya Eco Adventure Park: Ziplining, Hanging Bridges, Rappelling and Cenote
★ 5.0 · 1,057 reviews